Add the Receipt Printer
First step is to unbox the equipment and ensure all necessary cables have been sent.
NOTE: This step should be done as soon as equipment is received so that if missing or damaged pieces can be replaced before go live.
For the Star TSP143
- TSP143 Unit
- 1 Power Supply (Multiple pieces: Cable and Adapter)
- 1 USB A to B connection cable
- 1 roll of starter thermal print paper
For the Star TSP743
- TSP743 Unit
- 1 Power Supply (Multiple pieces: Cable and Adapter)
- 1 Wireless adapter dongle
- 1 roll of starter thermal print paper
Setting up the Star TSP143
- Connect the power supply and adapter to the Unit connect in port P
- Connect the USB Cable to the TSP143 Unit in port U (USB B port squared end)
- Connect the other end of the USB cable side USB A to the CPU via a USB A port.
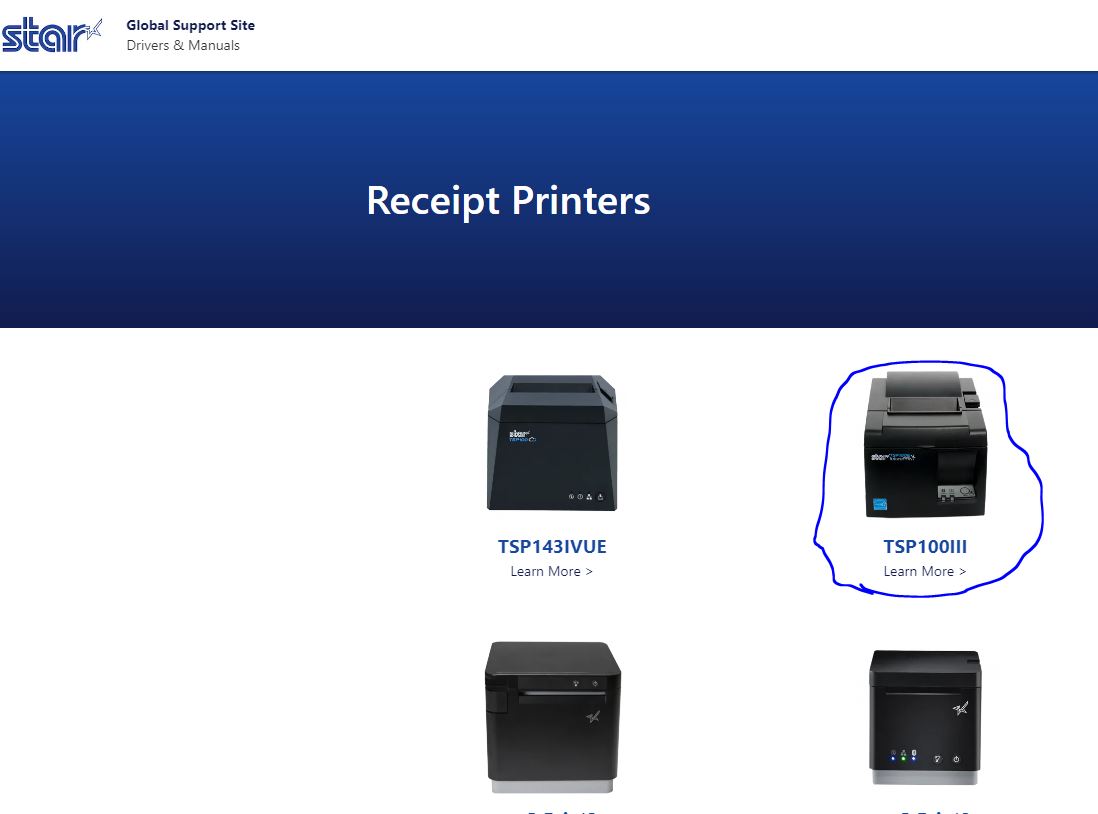
- On the CPU go to https://starmicronics.com/support/receipt-printers/ select the TSP100II

- Select CPU Operating system driver selection and download
- Windows TSP100 futurePRNT Software Full
- Linux CUPS Driver for Linux
- Mac CUPS Driver for macOS
- Install the downloaded drivers
- Power on the Printer
- Check that the driver is installed correctly by printing the test page from Printers and Scanners in the Windows menu.
Setting up the Star TSP743
- Connect the power supply and adapter to the Unit connect in port P
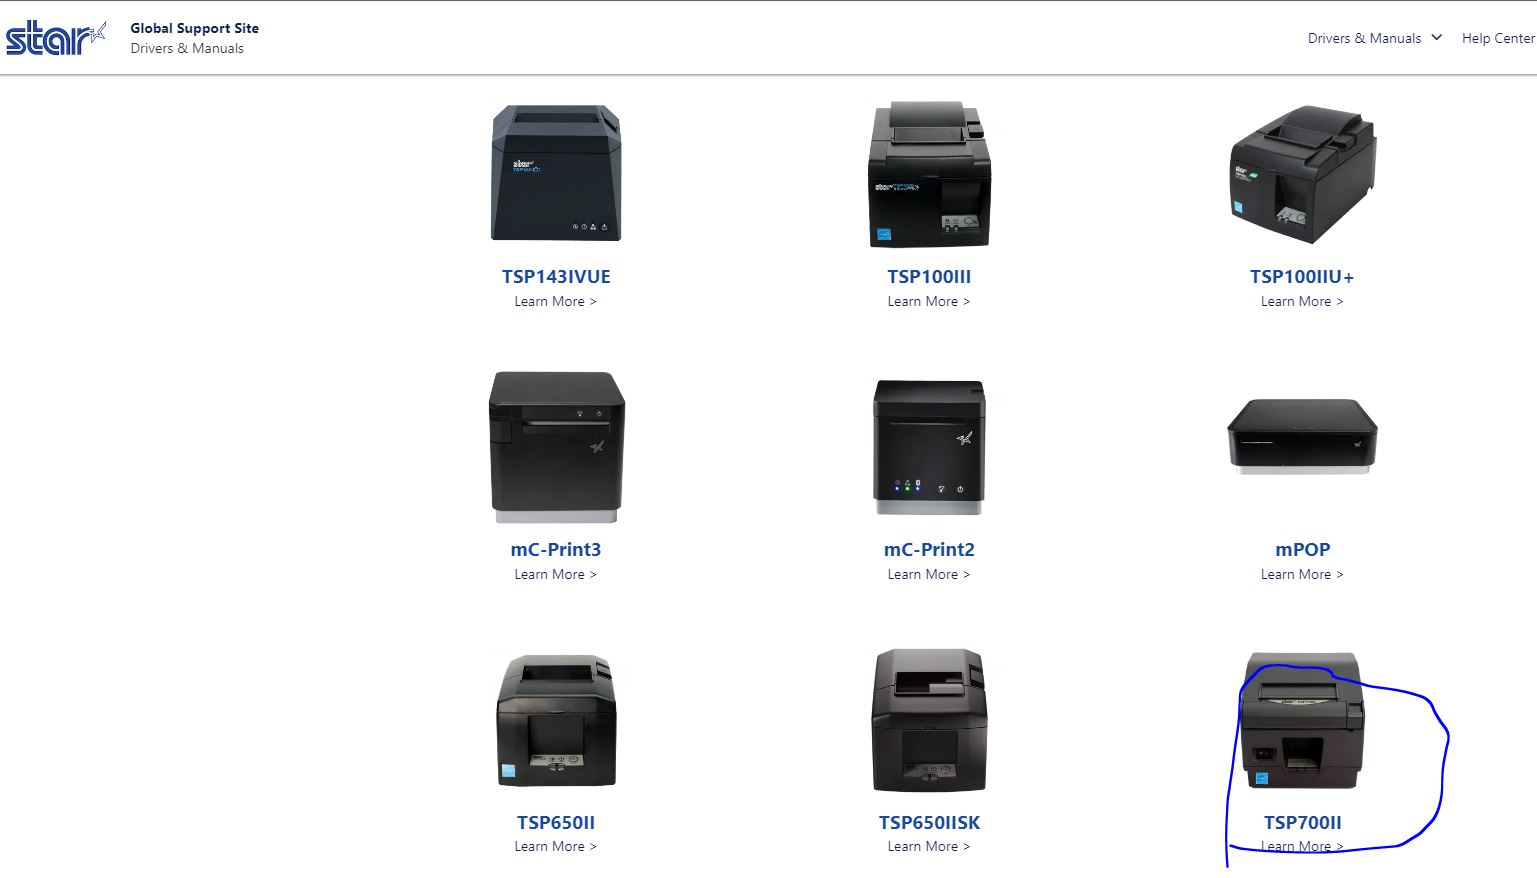
- On the CPU go to https://starmicronics.com/support/receipt-printers/ select the TSP700II

- Select CPU Operating system driver selection and download
- Windows TSP700 futurePRNT Software Full
- Linux CUPS Driver for Linux
- Mac CUPS Driver for macOS
- Install the downloaded drivers
- Connect the Unit to your network, directly to your router
- Connect the USB Dongle
- Power on the Printer
- This connection should establish the network connection once complete can disconnect from your router
- Check that the driver is installed correctly by printing the test page from Printers and Scanners in the Windows menu.